ESP32 and Accelerometers
This is an import from the blog on my last website. It is documentation of how I set up the ESP32 microcontrollers in the project Capturing Movement in Sound and how to get them sending data to Max/MSP.
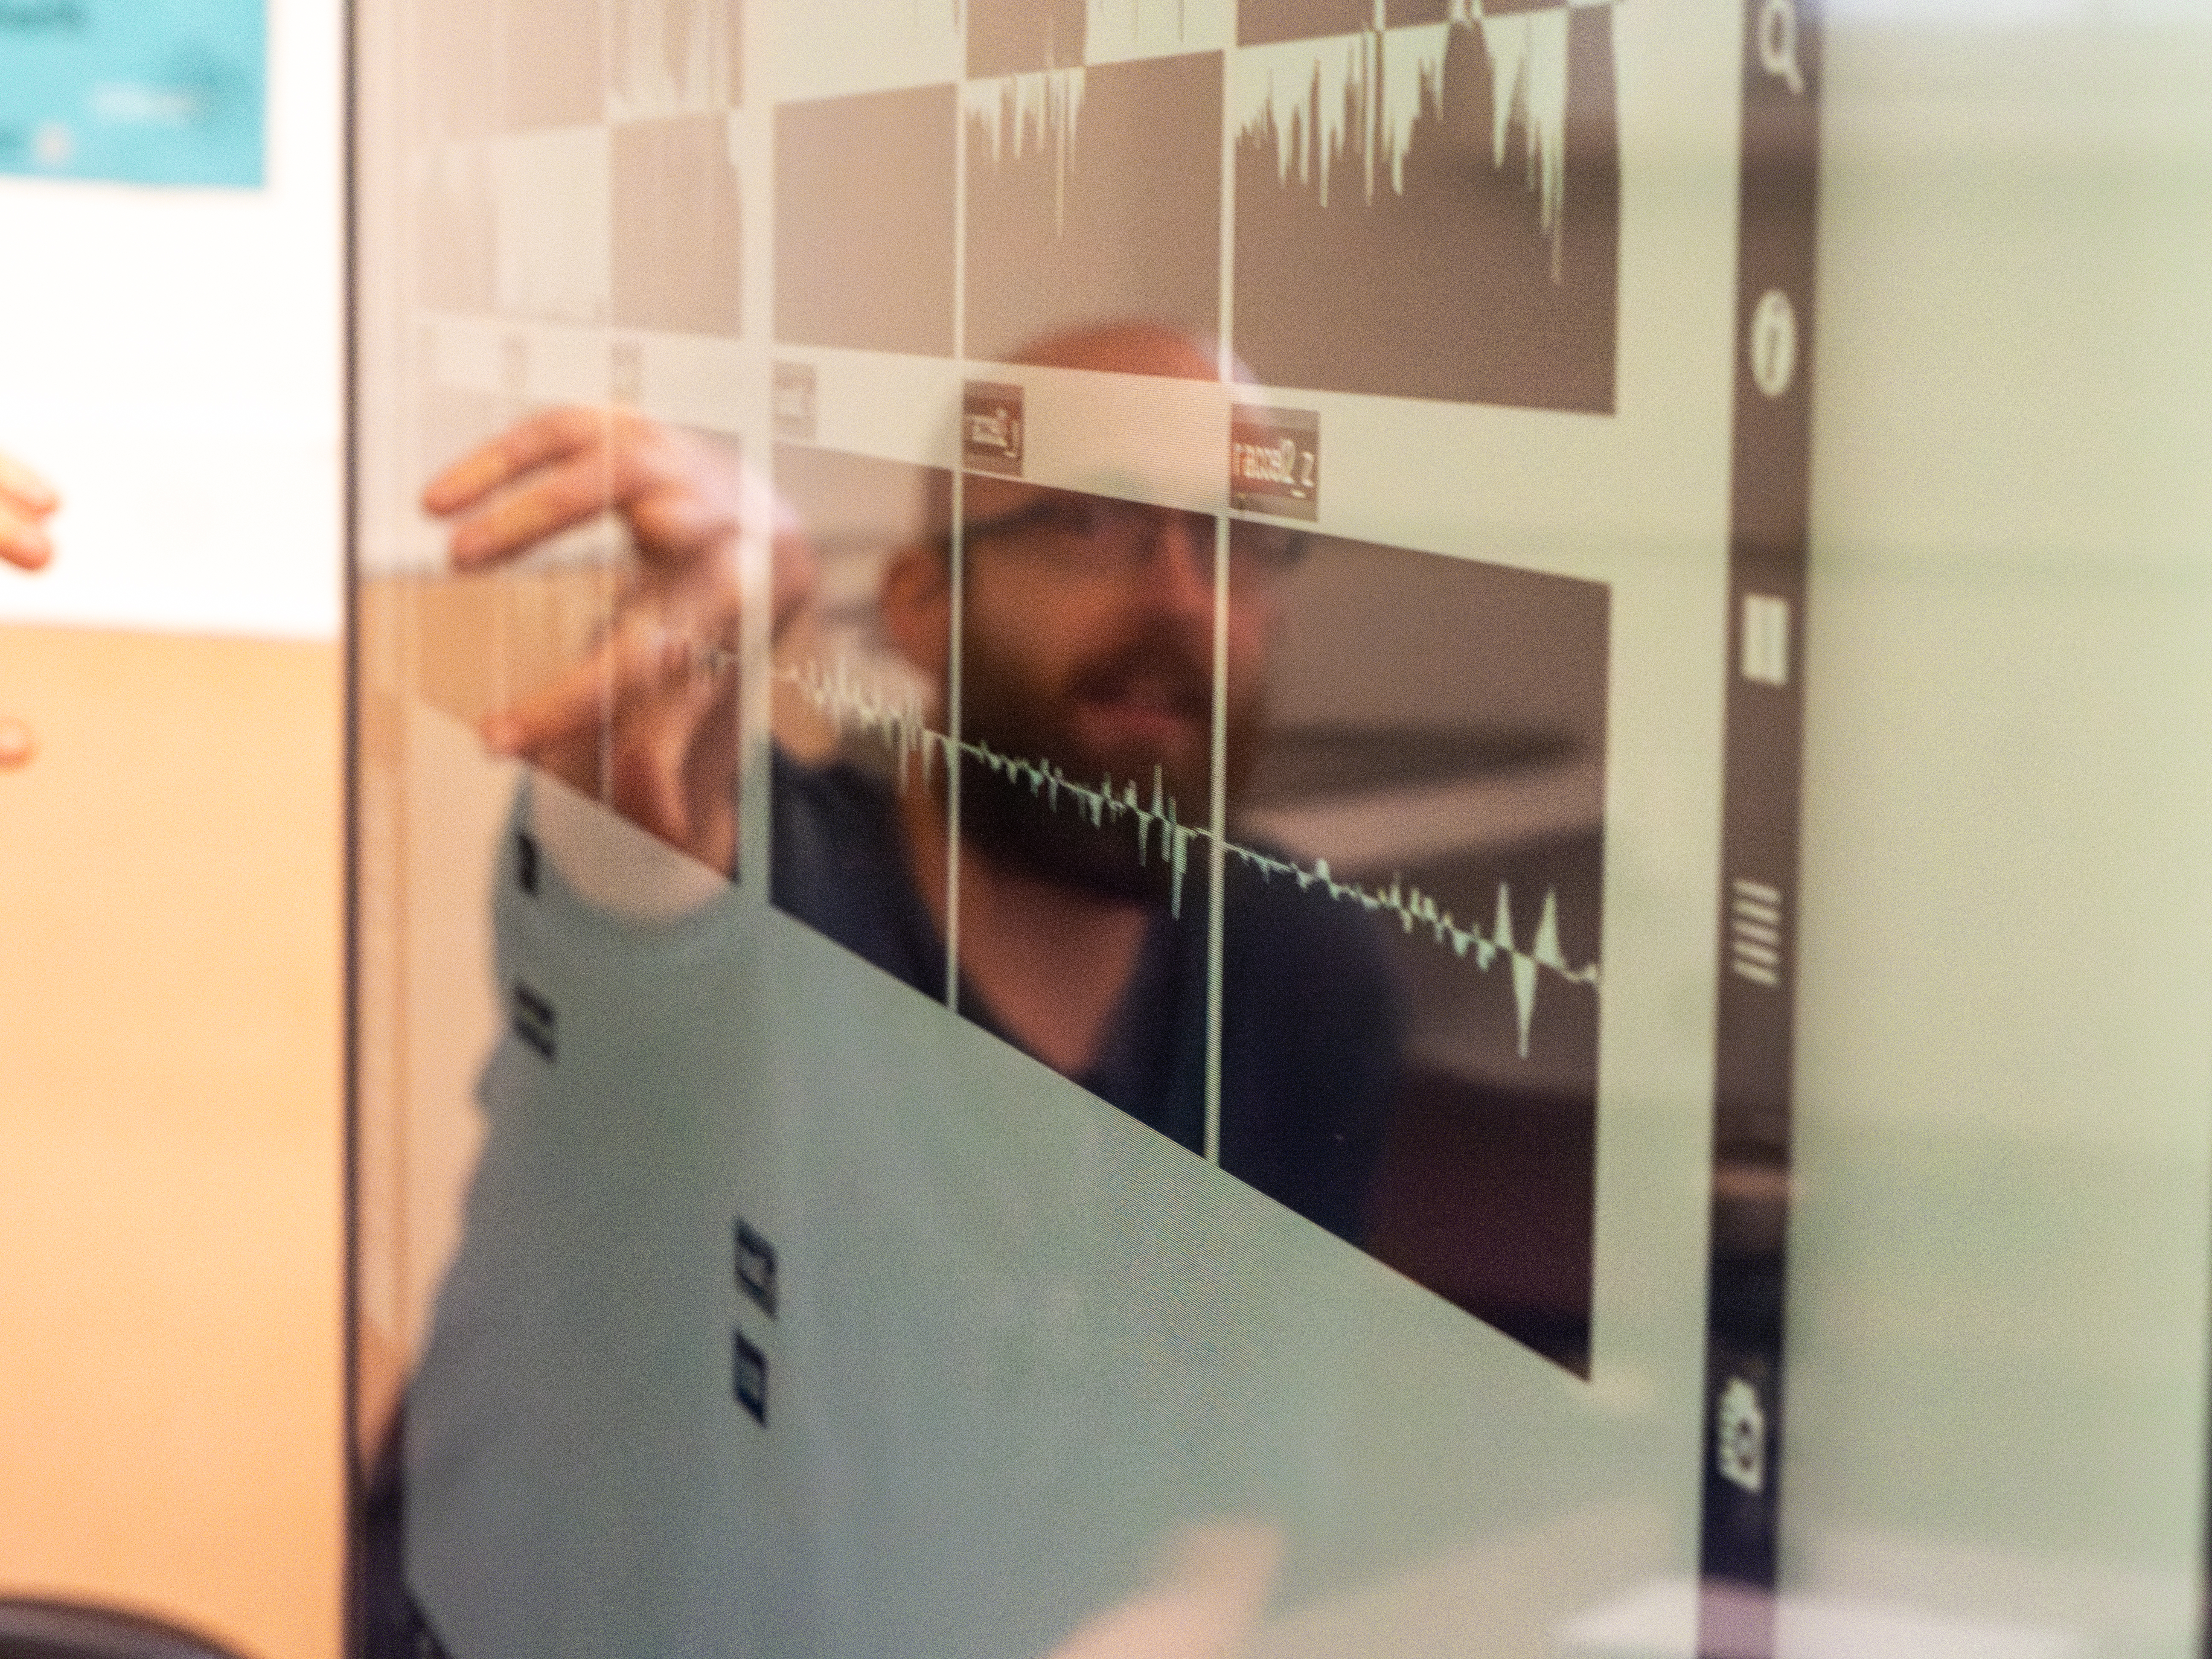
Sound & Movement, rehearsal, 2026.
Overview
This post focuses on setting up an ESP32 microcontroller with accelerometers for movement tracking. I will share the code and Max/MSP patch that I used to connect the device through WIFI. It will be a quick run-through of the material. I tend to research code examples online then edit it them for my purpose. My understanding develops as I figure out and refine the interactions that I want. Hopefully this guide will provide you with the resources to get started in the same way. In the future, I might break this down into smaller topics.
You will need a little knowledge in coding and circuits. If microcontrollers such as Arduino are completely new to you, I would recommend exploring some easy projects first.
There are a number of tutorials online. The Paul McWhorter tutorials were how I started. They helped me get up to speed with the basics of creating simple circuits, and learning from tutorials is also a great way to inspire new ideas for projects.
What is an ESP32?
One of the key interactions of Turning Mvt into Sound was the use of ESP32 circuit boards. They are microcontrollers that have Wi-Fi and Bluetooth enabled.
Similar devices are Arduino and Raspberry Pi, but there are many others. I had used Arduino boards before, and they work in a similar way to the ESP32. The ESP32 are a little cheaper, which is why I chose them for this project.
One of the things that surprised me was how stable they were on the Wi-Fi. We easily connected to the hire-space Wi-Fi at Chapter Arts Centre each day. They were easy to use and not too bad to set up.
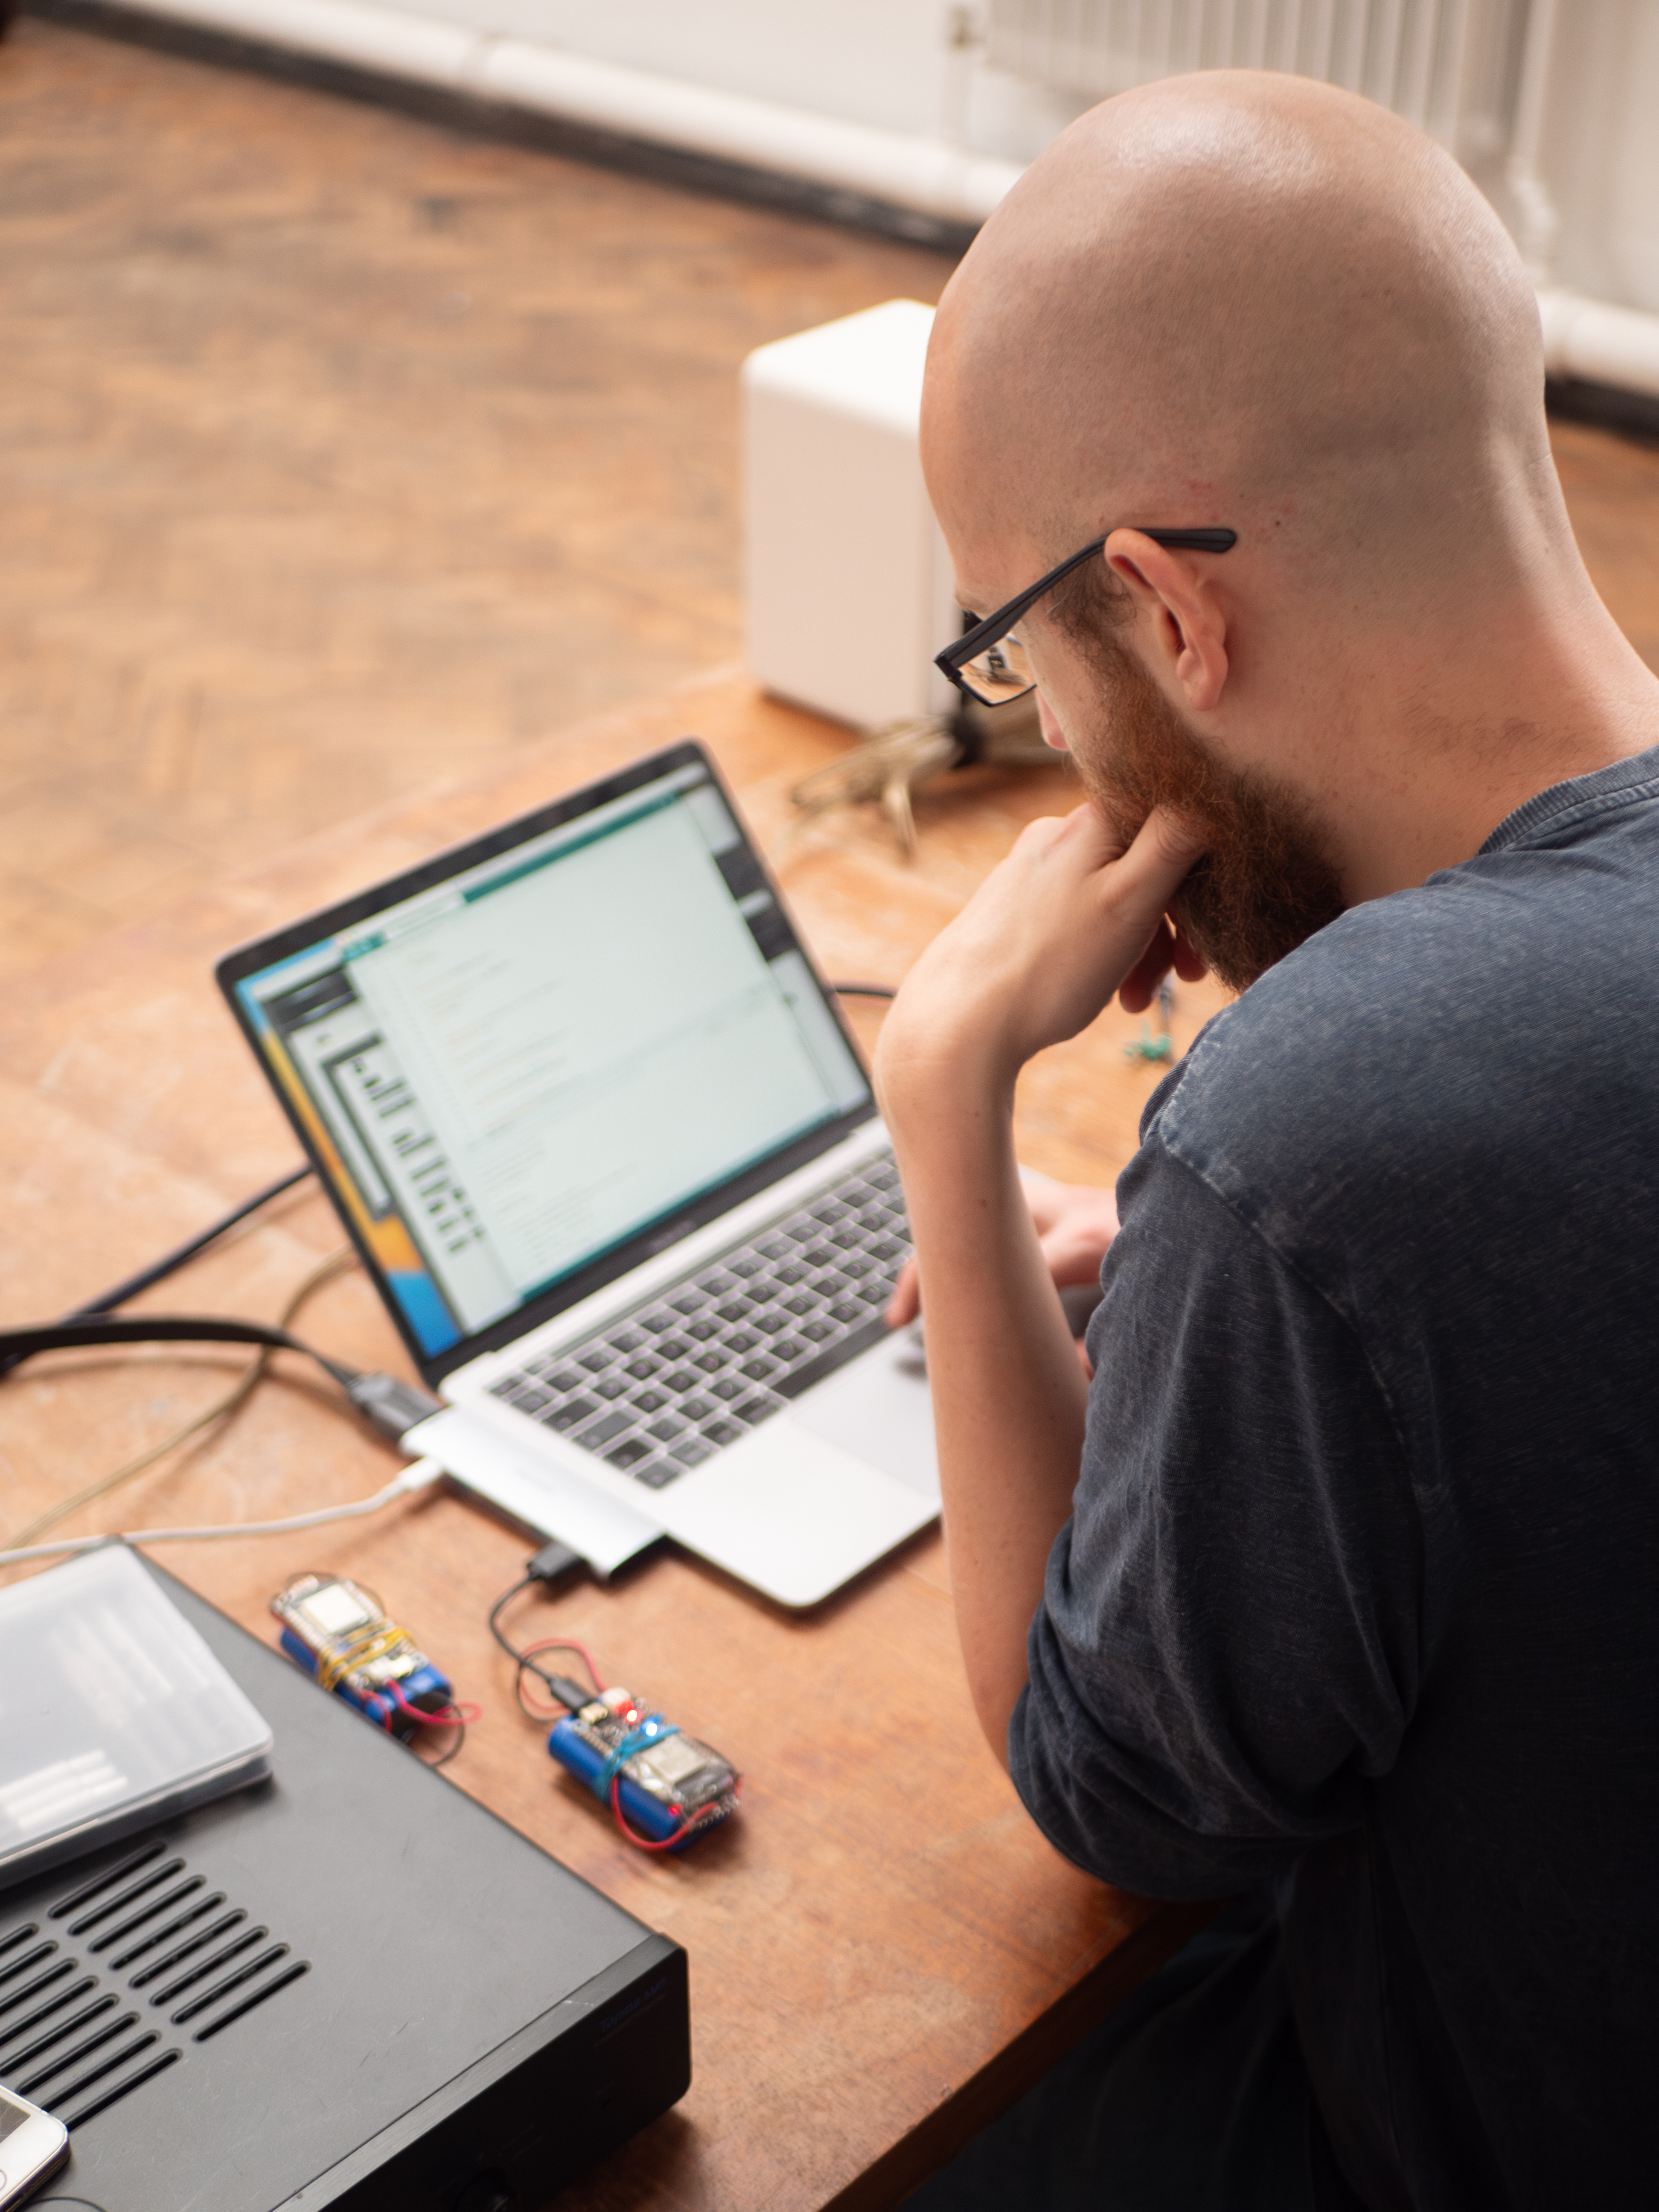
In the future, I want to connect them with Bluetooth. This is because I had a project where the WIFI was public, and I couldn't connect to it with them. It required a login and password through a public registration form. I couldn’t figure out how to code that example, though I’m sure it is possible. Bluetooth communication would avoid WIFI connection issues.
The Components
I bought these versions of the ESP32. I have heard that earlier versions have quirks when trying to upload code to them. This hasn’t been my experience.
The lithium batteries can be bought here. They plug into the device to charge. They are a little bit bulky but they worked well and we didn’t have issues with running out of charge. I’m sure there are more compact ones out there if that is a priority for you.
These are the MPU 6050 chips. They detect the rotation of the sensor. This was an interesting change from tracking position, especially when it is attached to an arm. You think about the movement of the arm, but when you are considering the input from the MPU, it is the rotation that you are really thinking about.
Using an Arduino or microcontroller means that you will need to have some ability to solder components or use a breadboard. I had experience from GCSE technology in school, which was about 20 years before when I began this project so you don’t need to be an expert. My results may make a professional recoil in disgust, but they worked and have not fallen apart for me.
The soldering that you have to do is a bit fiddly, but the connections are simple. I wanted to use my chips just as motion controllers, so I first soldered the headers that come with the MPU6050 to the board.
I then soldered wires onto the headers and straight onto my boards. I have a feeling this is something else that professionals may not like, but it worked for me. The connections that you need to make are straightforward.
MPU6050 wiring
MPU6050
VCC  → VCC
GND  → GND
SCL  → SCL / IO21
SDA → SDA / IO22Programming the ESP32
Arduino is written in C++. It may seem a bit daunting at first, but there are lots of tutorials and support online to guide you. I have now created a number of projects with Arduino but wouldn’t say that I know C++ well, but I am confident in working alongside resources to make the projects that I set out to do.
The first thing that you need before getting the code to work is to install libraries. These add functionality to the ESP32 code.
This part is slightly hazy in my memory as I write this, as I tried out a lot of different libraries and ways of working before getting the complete project working.
Because of this, I have included some external resources on Arduino libraries and the Adafruit MPU6050 setup to help guide you.
The ESP32 library that I have got working is esp32 by Espressif, or esp32 by DFRobot. The current Arduino-ESP32 project is maintained by Espressif.
The board package can be installed through the Arduino IDE. This means that you can select FireBeetle 2 ESP32-E from the board selection, then select your port.
Arduino IDE
Tools → Manage Libraries
Board → FireBeetle 2 ESP32-E
Port → select the connected ESP32
Upload speed → 115200 (if you encounter “exit 2”)
For a current installation guide, see the Arduino-ESP32 documentation .
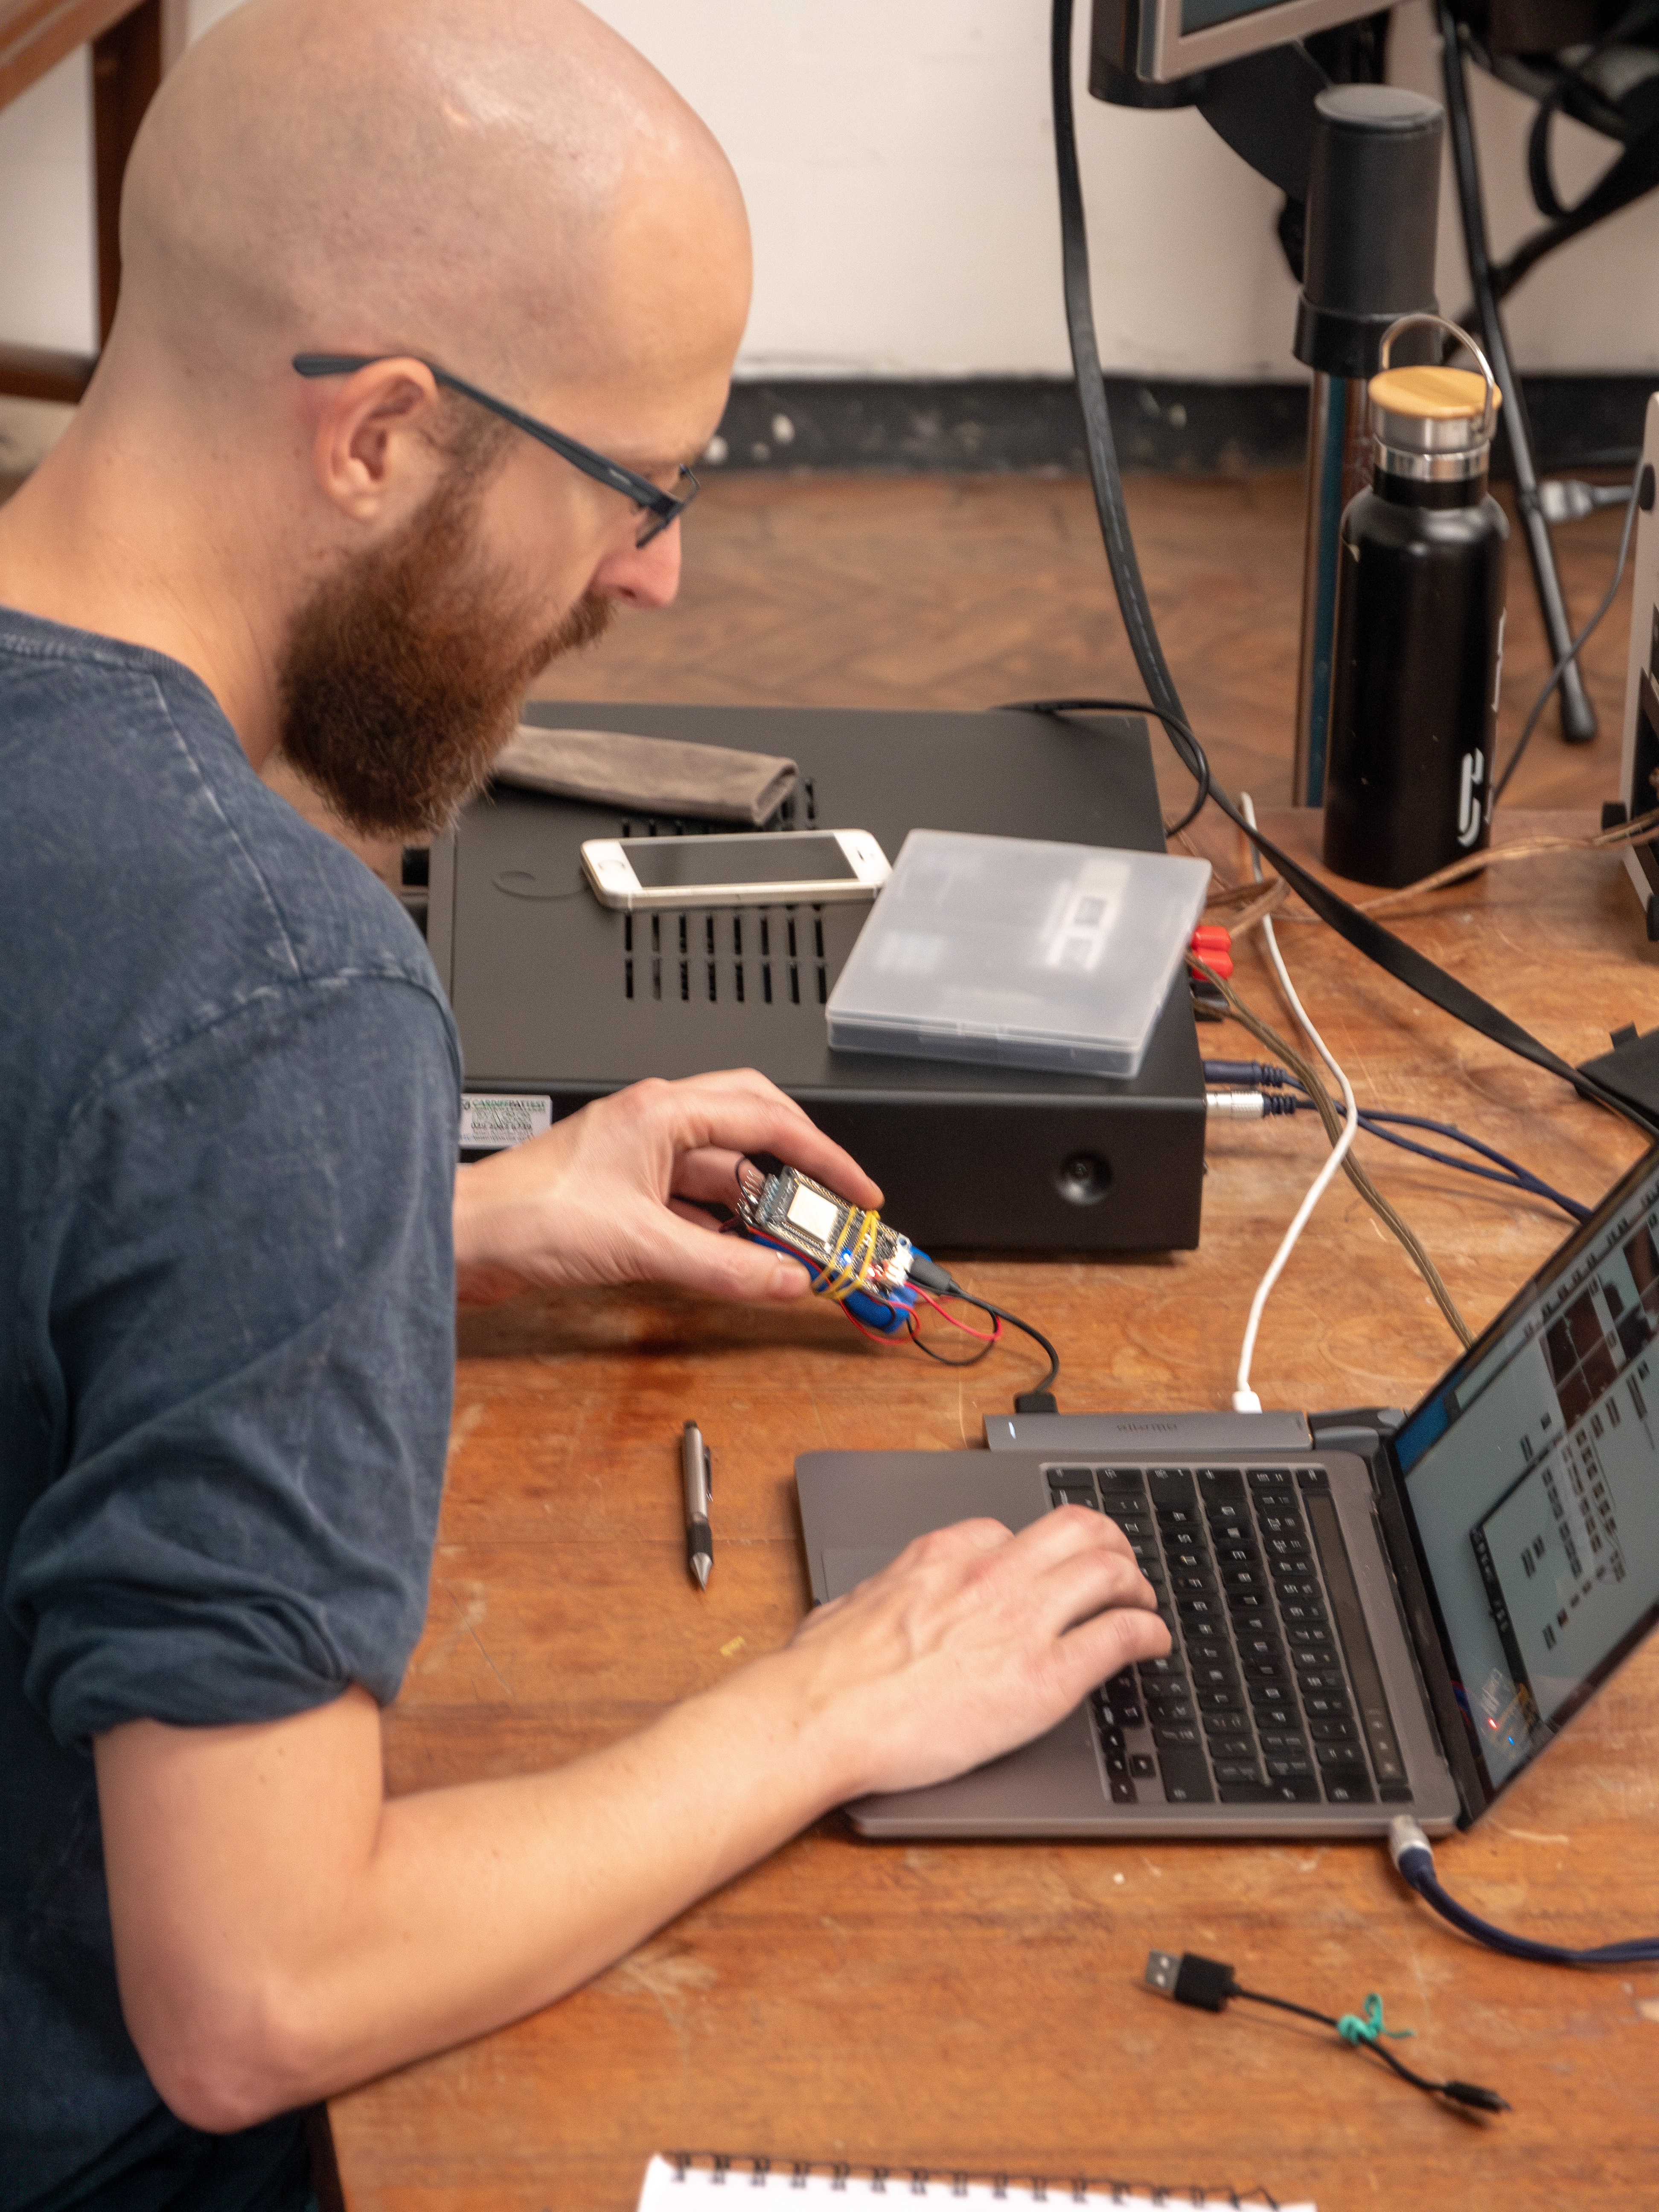
The Adafruit MPU6050 library means you can read data from the MPU6050. More detailed instructions can be found in Adafruit's MPU6050 Arduino guide .
The other libraries should be included with Arduino. These control the Wi-Fi connection and OSC messages, which are what we will use to send data to Max/MSP.
After installing the libraries, copy and paste the code into your Arduino IDE. The code that I used can be found here:
Changes that you need to make:
- IP to send to. If you are on a Mac, the quickest way to do this is to press alt on your keyboard and click the WIFI icon at the top right of your desktop.
- The login details of your WIFI. SSID – Username, then your password.
- The local port is also important to note. If you are using multiple ESP32s at once, change the numbers of each and make a note of them.
That should be the changes that you need. Upload the sketch to your chip.
While the ESP32 is still connected, open up the serial viewer. It should hopefully say that you are connected correctly.
The Max/MSP Patch
In Capturing Movement in Sound, I originally explored a separate gyroscope sensor rather than the MPU6050.
I switched to the MPU6050, which has both an accelerometer and gyroscope sensor, because I thought it would be best to have both functionalities available.
It turned out that the accelerometer was the most useful data for my use so I just used it, but this patch includes both so you can explore for your own use.
I have attached a Max/MSP patch that visualises the data, as well as how to perform a simple smoothing of the data.
The smoothing is very rough and ready and it is signal based, so you will need to turn on the DSP to make it work. In raw form, the data jumps about all over the place, so this just smooths it out to make it a little more usable.
When you open the patch, open the subpatch MPU6050_1.
Max/MSP network settings
udpsend
IP address  → ESP32 IP address
port        → ESP32 listening port

udpreceive
IP address  → laptop IP address
port        → ESP32 sending port
Change the udpsend IP address to the ESP32's IP, and
the port number to the port that it is listening on. Then change
udpreceive to your laptop's IP address and the port
to the one that the ESP32 is sending data to.
With those changes, toggle the stream with a 1. If audio is on, the ESP32 data should be showing in the main patch.
Use the sends to route the data to whatever it is that you want to control.
Hopefully this post gives an idea of how to set up the ESP32. It is more involved than I remember it being, but this should give you enough information to get started.
